Ready for a trendy new look? Our easy tutorial shows you how to cut your own wispy bangs at home effortlessly!

Thinking about adding some fringe but not sure where to start? Wispy bangs might be just what you need!
These bangs have been trendy forever, and it’s easy to see why. They look amazing with any hairstyle and flatter all face shapes. Plus, they come with some fantastic perks.
Wispy bangs can blend beautifully with any hairstyle, from short bobs to long waves. And who can resist that effortless, chic vibe?
They also do a great job of covering your forehead and softening face lines, making them perfect for any face shape.
Unlike other bangs that completely hide your face, these light, airy beauties only partially cover it.
So, if you’ve been wanting to try bangs but aren’t ready to commit to a full fringe, wispy bangs are your new best friend.
Want to know the best part? You can totally cut wispy bangs at home! With just a few tools and a bit of patience, you can snip your way to perfect, dreamy bangs right in your own bathroom.
Convinced? If you’re ready to rock a new bang style, keep scrolling.
In this guide, I’ll walk you through every step to get those dreamy bangs yourself. Let’s do this!
What Are Wispy Bangs?
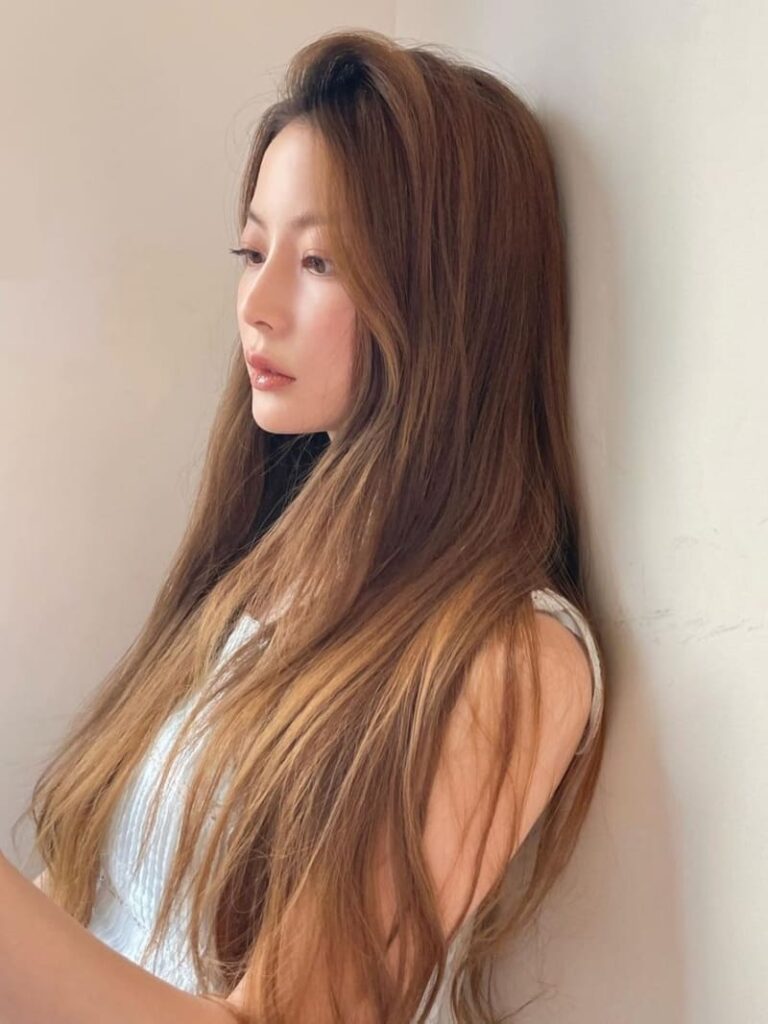
First off, what exactly are wispy bangs? These are light, feathery fringes that frame your face beautifully.
Unlike blunt bangs, wispy bangs have a softer, more relaxed look. They’re perfect for adding a touch of sophistication without committing to a heavy fringe.
They work well on various hair types and are particularly flattering on oval, heart, and round face shapes.
What Tools Do You Need to Get Wispy Bangs?
Now that you know what wispy bangs are, it’s time to gather the right tools. You’ll need a few basics: sharp hair-cutting scissors, hair rollers, a blow dryer, and a mirror.
- Hair Cutting Scissors: Professional Hair Scissors
- Hair Rollers: Conair Self-Grip Hair Rollers
- Blow Dryer: Revlon Compact Hair Dryer
How to Cut Your Own Wispy Bangs
Now that you’ve got your tools ready, it’s time to dive into the step-by-step process of cutting your own bangs. Just follow these 5 easy steps, and you’ll have gorgeous, wispy bangs in no time!
Step 1: Make Small Triangle Section


To begin, section off the front part of your hair that you want to cut. Take a small, tiny triangular section, with the point of the triangle at the center of your forehead.
Make sure you have a pair of sharp hair-cutting scissors on hand, as dull scissors can result in uneven and messy cuts.
Once you have your hair sectioned, cut straight across the bottom of the triangle at the middle of your nose. This will be the starting point for your wispy bangs.
Step 2: Create Large Triangle Section


For the second step, grab a slightly larger triangular section of hair from the front. Cut this section to a longer length than the first section, so it reaches the end of your nose.
Now, it’s time to get creative with the point-cutting technique. Instead of cutting the hair straight across, use the scissors to cut into the hair vertically.
This creates a more textured and wispy effect, giving your bangs a soft, natural appearance.
Step 3: Seamlessly Trim Two Sections


With the first and second sections of your bangs in hand, it’s time to blend them together seamlessly.
Hold both sections together and use your scissors to make a point cut where the two sections meet, creating a smooth transition between them.
This technique will give your bangs a natural, layered appearance.
Step 4: Trim the Flyaways


Next, use your scissors to trim any flyaway hairs on the sides of your bangs. Be sure to keep the length gradually longer as you move toward the sides of your face. This will help create a soft, natural look that frames your face beautifully.
Step 5: Trim the Sides


To achieve a more natural and seamless look, it’s important to trim the sides of your bangs. Take the strands on each side and bring them down to your mouth. Then, using your scissors, trim the strands at the point where your lips end.
Repeat this process on both sides to ensure that your bangs are symmetrical. This will help to give your overall hairstyle a polished and cohesive look.
Complete the Look


After cutting your wispy bangs, it’s time to style them!
To achieve the perfect look, you’ll need some big hair rollers. Place the biggest one in the center of your forehead, and place two smaller ones on either side.
Once the rollers are in place, use a blow dryer to set your bangs in shape and give them some bounce. You can also use a round brush to add some volume to the roots.
Congratulations! You’ve just achieved your very own wispy bangs. Enjoy your new stylish and trendy look!
Wispy Bangs Video Tutorial
If you’re more of a visual learner, check out this video tutorial for a step-by-step guide.
Wrap Up
So there you have it: five easy steps to get those gorgeous bangs you’ve been dreaming of. With your new, trendy look, you’ll be turning heads in no time. So go ahead and strut your stuff!
Want to learn more about bangs?