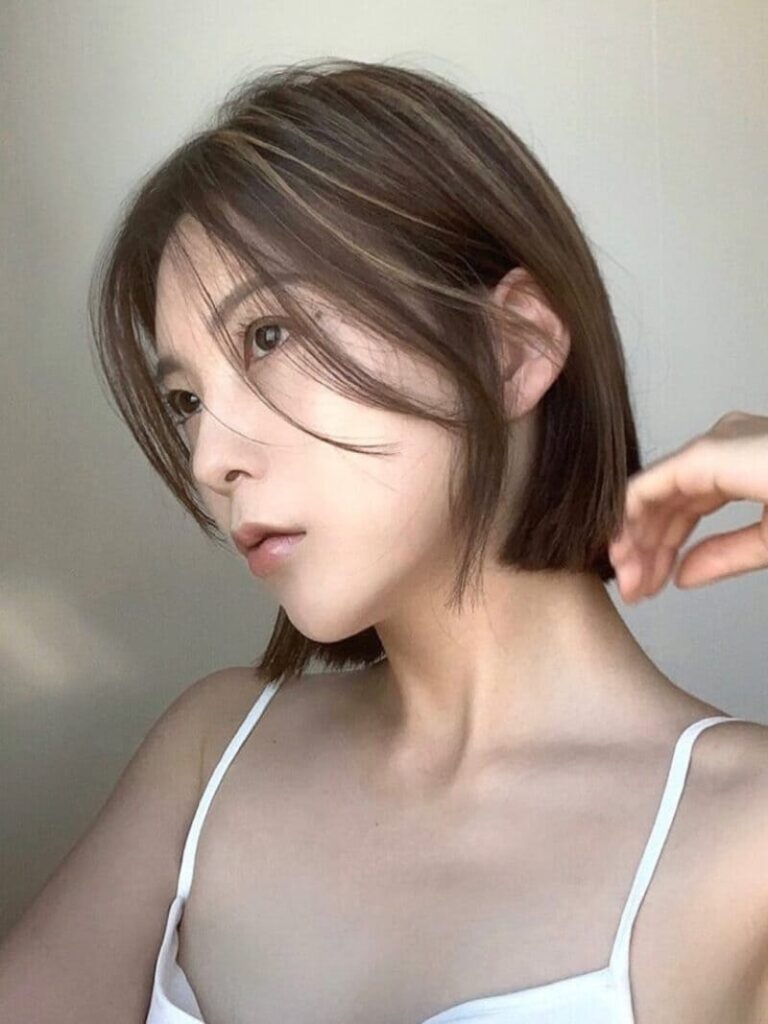
Wondering how to cut your own Korean side bangs? Sharing the easiest step-by-step tutorials so you can rock them at home!
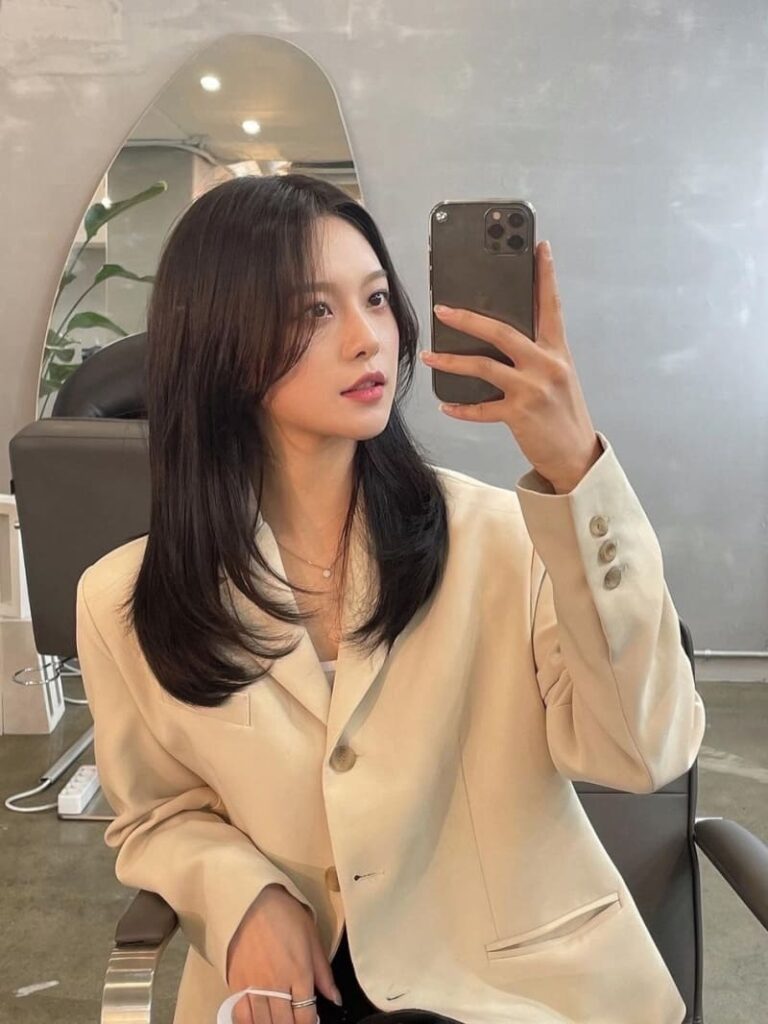
Are you tired of your current hairstyle and looking for a fresh new look? Are you a K-beauty fanatic who wants to keep up with the latest trends?
Or maybe you just want to add some edge and flair to your look without going too over the top.
Well, whatever your reason may be, Korean side bangs are the perfect solution!
In this post, we’re going to give you a comprehensive guide on how to achieve effortlessly chic fringe styles in just a few easy steps.
From the tools you need to the techniques you should use, we’ve got you covered.
Plus, we’ll answer some of the most frequently asked questions about side bangs, so you can feel confident and informed as you create your new look.
So, grab your scissors and get ready to transform your look with some fabulous Korean side bangs!
What Are Korean Side Bangs?
These flattering Korean bangs are all the rage these days! But what are they, exactly?
Well, imagine a cool blend of classic curtain bangs and modern face-framing styles, and you’ve got these fringe styles.
Unlike traditional curtain bangs, Korean side bangs are a bit more laid-back and casual.
They’re parted in the center and fall naturally to the sides of your face, creating a relaxed and effortless look.
Plus, the wispy, soft ends give them a natural and flowy appearance that we can’t get enough of.
One of the best things about Korean side bangs is that they’re super versatile.
Whether you have straight hair or curly locks, long tresses or a short bob, these bangs can work for you.
What Do You Need for Korean Side Bangs?
Before we get started, let’s make sure you have all the necessary tools and materials.
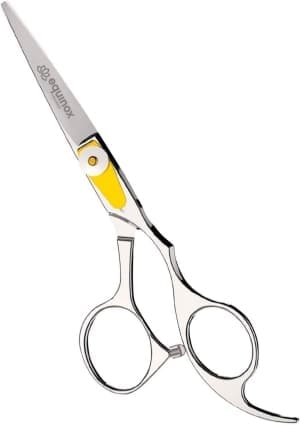
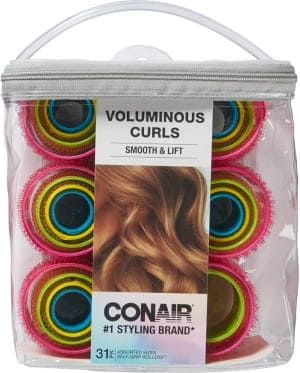
You’ll need a good pair of scissors (preferably hair-cutting scissors), a comb, hair clips, hair rollers, a blow dryer, and a mirror.
- Hair Cutting Scissors: Professional Hair Scissors
- Hair Rollers: Conair Self Grip Hair Rollers
- Blow Dryer: Revlon Compact Hair Dryer
How to Cut Your Own Side Bangs
Ready to level up your hair game with those bangs? In just a few easy steps, we’ll show you how to achieve this stylish look.
Step 1: Prep and Mark Your Bangs
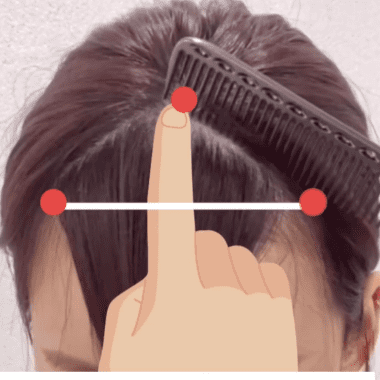
Begin by sectioning off the front part of your hair and marking the desired length and width of your bangs.
To create the perfect triangular shape for your bangs, make sure to start the section about 1.5 inches from your hairline, with each triangle point ending at your brow’s end.
This ensures that your bangs frame your face perfectly.
Step 2: Cut Your Bangs
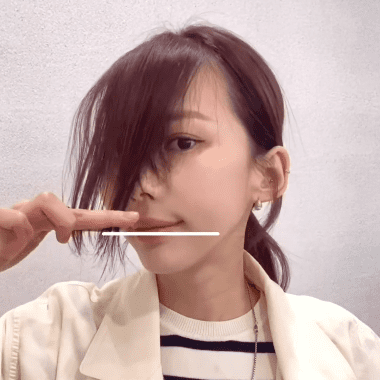
With your hair sectioned and marked, it’s time to cut those bangs.
Hold your scissors properly and cut straight across, following the marked measurements.
Remember, it’s always better to start with a small amount of hair and cut gradually to achieve the desired length.
If you want a shorter look, aim to cut your bangs at the level of your lips.
But if you’re going for a longer, more relaxed style, cutting them at chin level should do the trick.
Step 3: Cut the Center Part
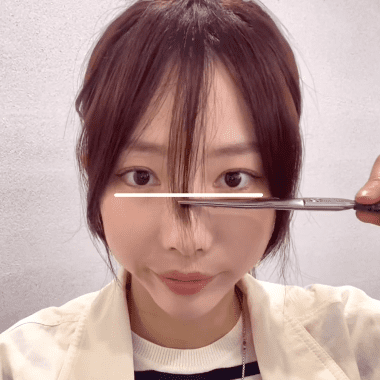
It’s time to create that stylish center part. Using a comb, create a part that’s about 1 cm wide and positioned at the middle of your nose (or the end of your nose for a longer look).
Step 4: Blend Your Bangs
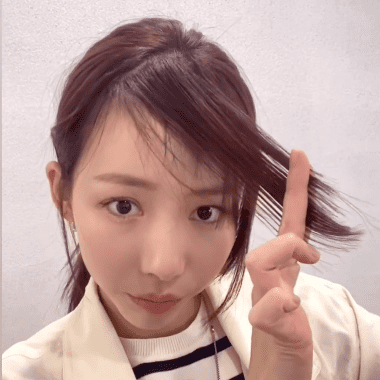
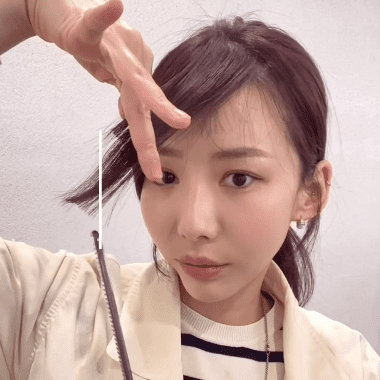
Now it’s time to blend your bangs for a natural and effortless look.
Hold both sections of your bangs together and bring them to the opposite side.
Using a point-cutting technique, cut into the hair vertically, rather than straight across, to create a smooth and seamless transition between the two sections.
This will give your bangs a soft and textured appearance.
Step 5: Style the Bangs
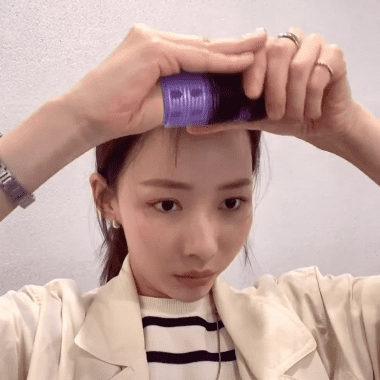
Now that you’ve cut your new chic side bangs, it’s time to style them to perfection!
To add some volume, consider using hair rollers, and don’t forget to use some hairspray or styling products to keep them in place all day long.
Make sure to style them in a way that complements your face shape, and show off your fabulous new look with confidence!
Korean Side Bangs Video Tutorial
If you prefer to learn by watching, we’ve got you covered. Check out this video tutorial that provides a detailed, step-by-step guide on how to achieve Korean-style bangs.
Korean Side Bangs: FAQs
Now, let’s address some common questions about those bangs:
1. Korean Side Bangs vs. Curtain Bangs
Korean side bangs and curtain bangs are both popular styles that feature bangs swept to the side. However, there are some differences between the two:
Korean side bangs usually have a shorter length and are cut at an angle to frame the face.
They often have a wispy, textured look and can be cut to a variety of widths.
Korean side bangs are often paired with a center part and can be worn with both short and long hairstyles.
Curtain bangs, on the other hand, are longer and cut straight across.
They are named after their curtain-like appearance when parted down the middle.
Curtain bangs are usually cut to a medium length and are thicker than Korean side bangs.
They are often styled with a center part and can be worn with a variety of hairstyles, including updos and ponytails.
2. Are There Any Face Shapes That Should Avoid Korean Side Bangs?
While Korean bang styles look great on many different face shapes, those with a round or square face may want to avoid them.
This is because side bangs can make a round or square face appear wider.
On the other hand, those with an oval or heart-shaped face can pull off Korean side bangs effortlessly.
Wrap Up
There you have it, You’ve now learned how to achieve a Korean style side bang look.
We hope you found this tutorial helpful and that you’re feeling amazing with your new hairstyle.
Don’t be afraid to experiment and try different styling techniques to find what suits you best.
Always remember to have fun and embrace your unique look with confidence!
Want to see more Korean bang styles?
